Six steps to a client React demo, starting from a machine without Node
A screen that runs on localhost gets you halfway. The other half is type-checking, a clean build and making sure no API key ends up in the bundle.

In brief
- Vite needs Node.js 20.19+ or 22.12+. Check node -v before you do anything else.
- Vite only transpiles TypeScript and does not type-check it. Run tsc --noEmit before building to dist, and plant a deliberate mistake to make sure the command catches it.
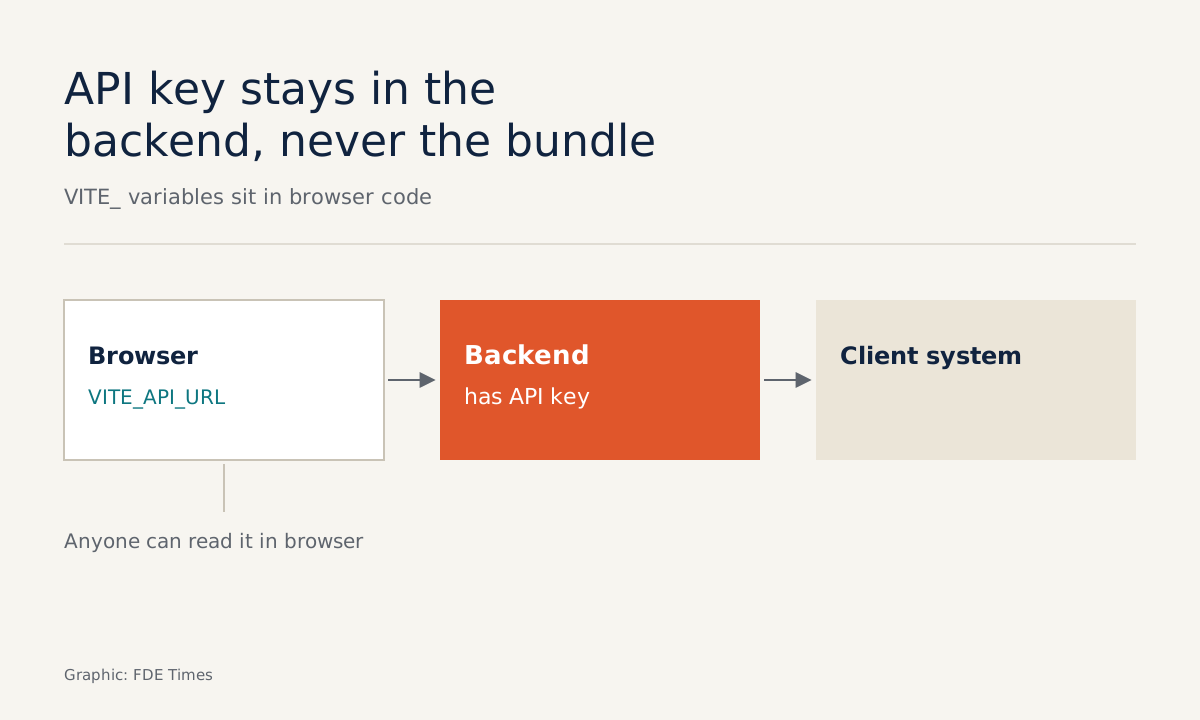
- Every VITE_ variable is bundled into client code, so API keys belong on the backend.
On Tuesday the client asks: “Can my team try it on Friday?” The backend that answers questions over their internal documents already works, but the client does not read JSON. They need a text box, a button and an answer on the screen. The work machine they have given you is bare. It does not even have Node.
Forward Deployed Engineers run into this all the time, and the skill it calls for is not advanced React. It is getting from nothing to a clean build in a few hours, in a way a colleague can take over next week. The six steps below follow one such example from the first command to the dist folder.
Why Vite rather than a framework?
The official React documentation recommends starting new apps with a framework. It is also frank about the cost of building your own setup: more flexibility, but you choose your own tools for routing, data fetching and other common patterns.
For a one-screen demo that cost is close to zero, because you need neither routing nor an elaborate fetching strategy yet. Vite gives you a light scaffold that starts quickly. If the demo grows into a multi-page product, that is the time to revisit the framework question.
Step 1: install the right Node before typing anything else
Vite requires Node.js 20.19+ or 22.12+. On a bare machine, install 22.12 or later, either with the official installer or with a version manager such as nvm if the client’s machine allows it. Then check:
node -v
npm -v
If node -v prints a version below the requirement, stop and fix it now. A Node version error that surfaces in a later step often looks like a Vite error, and you can lose an afternoon chasing the wrong problem.
Step 2: one command to scaffold, one to run
Vite scaffolds projects with npm create vite@latest. The React template with TypeScript is react-ts (there is also react-compiler-ts):
npm create vite@latest client-demo -- --template react-ts
cd client-demo
npm install
npm run dev
The default dev script is just vite, which starts a dev server at localhost:5173. Once the sample page appears, the infrastructure is done. If the client already has a React project written in JavaScript, add the type definitions instead of starting over: npm install --save-dev @types/react @types/react-dom.
Step 3: write the data types before the UI
Before touching the screen, create src/types.ts. This file is the contract between the backend and the interface:
export type Status = "idle" | "loading" | "done" | "error";

export type Answer = {
  text: string;
  sources: string[];
};
The React documentation notes that declared prop types serve both to check correctness and as documentation that appears right in the editor. For an FDE the second benefit matters just as much: whoever takes over can open the file and see what the API returns without calling it.
Step 4: keep every API call in one place
Create src/api.ts. Everything network-related lives here, so that when the client changes the backend address on Thursday you edit a single line:
import type { Answer } from "./types";

// Just the backend address, not a secret
const API_URL = import.meta.env.VITE_API_URL;

export async function readAnswer(question: string) {
  const res = await fetch(`${API_URL}/answer`, {
    method: "POST",
    headers: { "Content-Type": "application/json" },
    body: JSON.stringify({ question }),
  });
  if (!res.ok) throw new Error(`API returned ${res.status}`);
  return (await res.json()) as Answer;
}
(The comment reads: “Only the backend address, not a secret.” The error message reads “API returned” followed by the status code.)
And the .env file at the project root:
VITE_API_URL=http://localhost:8000One detail matters above all: VITE_ variables are bundled straight into the code that runs in the browser, and the Vite documentation states plainly that they must not contain sensitive information such as API keys. Keys for the model or the client’s systems belong on the backend. The UI knows only the address.
Step 5: wire the API into the screen
Only now do you get to src/App.tsx, which the template has already created. Files containing JSX must use the .tsx extension, so do not rename it to .ts. Replace its contents with the following:
import { useState } from "react";
import type { FormEvent } from "react";
import { readAnswer } from "./api";
import type { Answer, Status } from "./types";

type UiState = { status: Status; answer: Answer | null };
const initial: UiState = { status: "idle", answer: null };

export default function App() {
  const [ui, setUi] = useState(initial);

  async function handleSubmit(e: FormEvent) {
    e.preventDefault();
    const form = new FormData(e.currentTarget as HTMLFormElement);
    const question = String(form.get("question") ?? "");
    setUi({ status: "loading", answer: null });
    try {
      const answer = await readAnswer(question);
      setUi({ status: "done", answer });
    } catch {
      setUi({ status: "error", answer: null });
    }
  }

  return (
    <form onSubmit={handleSubmit}>
      <textarea name="question" rows={4} />
      <button disabled={ui.status === "loading"}>Ask</button>
      {ui.status === "error" && <p>Could not reach the API, please try again.</p>}
      {ui.answer && <p>{ui.answer.text}</p>}
    </form>
  );
}
(The button label means “Ask”; the error line means “Couldn’t reach the API, try again.”)
Note the line useState(initial). The hook infers its type from the initial value. Write a bare useState("idle") and TypeScript infers string, so a typo like "loadng" slips through. Write useState(null) and the type is null, so you cannot assign an answer to it.
The neatest fix is to give the hook an initial value that already has a type. initial is declared as UiState, so status accepts only the four values in the union and answer accepts either null or an Answer. If you prefer several separate pieces of state, the standard approach is to pass Status directly as the type parameter to useState.
Holding both pieces of state in one object has another benefit: you can never end up with a status of “error” while an old answer is still on screen. Save the file, go back to localhost:5173, type a question and click. If the backend is running, the answer appears. Shut the backend down and the error line appears. The client will try both cases, so you must too.
Step 6: a working dev server does not mean correct code
This is the biggest trap. Vite only transpiles TypeScript files; it does not check types. The dev server will happily serve a file full of type errors, and you find out only when the client clicks exactly the wrong branch. That is why the Vite documentation advises running tsc --noEmit when building for production:
npx tsc --noEmit
npm run build
Do not trust a type-check command just because it reports nothing. Prove it: type "loadng" into a place where status is assigned and run it again. If the command stays silent, it is probably not reaching the UI code. In projects with several tsconfig files, point it directly at the one covering the src code with the -p flag, until the deliberate error shows up.
Then open package.json and check whether the build script runs the type check before vite build. If it does not, add it so nobody on the team can forget. The build output goes into the dist folder by default: a set of static files you put on a web server for the client to open in a browser.
The mistakes that wreck a Friday demo
The most common mistake is treating the dev server as proof. A screen running on localhost shows only that the browser can run the code, not that the types are right. Close behind it is trusting a type-check command that reports clean but has never been seen to catch anything.
The most dangerous mistake is putting a key in a VITE_ variable “just for speed, it’s only a demo”. Demo bundles get forwarded by email and in group chats, and the key travels with them. Doing it once is enough to lose the trust of the client’s security team.
Two smaller mistakes cost hours: writing JSX in a .ts file, and letting useState infer its type from a bare string or null for state with several possible values. TypeScript catches both if you give it the chance.
Where does this skill sit on your CV?
When reading FDE job descriptions, look for phrases such as “build prototypes”, “customer-facing demos” or “rapid iteration”. If they appear, these six steps are exactly what you should be able to demonstrate, and showing results persuades more than listing technologies.
On your CV, instead of “proficient in React, TypeScript”, write a line with an outcome: built a document Q&A demo from a bare machine to a production build in one session, with a separate API layer so the backend could change without touching the UI, and keys kept on the server. A public repo with exactly the types.ts, api.ts, App.tsx structure says more for you than any adjective.
The next time a client asks “Can we try it on Friday?”, the right answer is not “yes”. It is a link to the dist folder, sent on Thursday afternoon.
Was this article useful?
Thanks for the feedback!